
How to Install Deck Tiles
Interlocking deck tiles clip together in an afternoon, but the result is only as good as the surface under them. This guide covers the base prep, the layout, the cuts and the edge trim, for concrete, balconies and uneven ground.
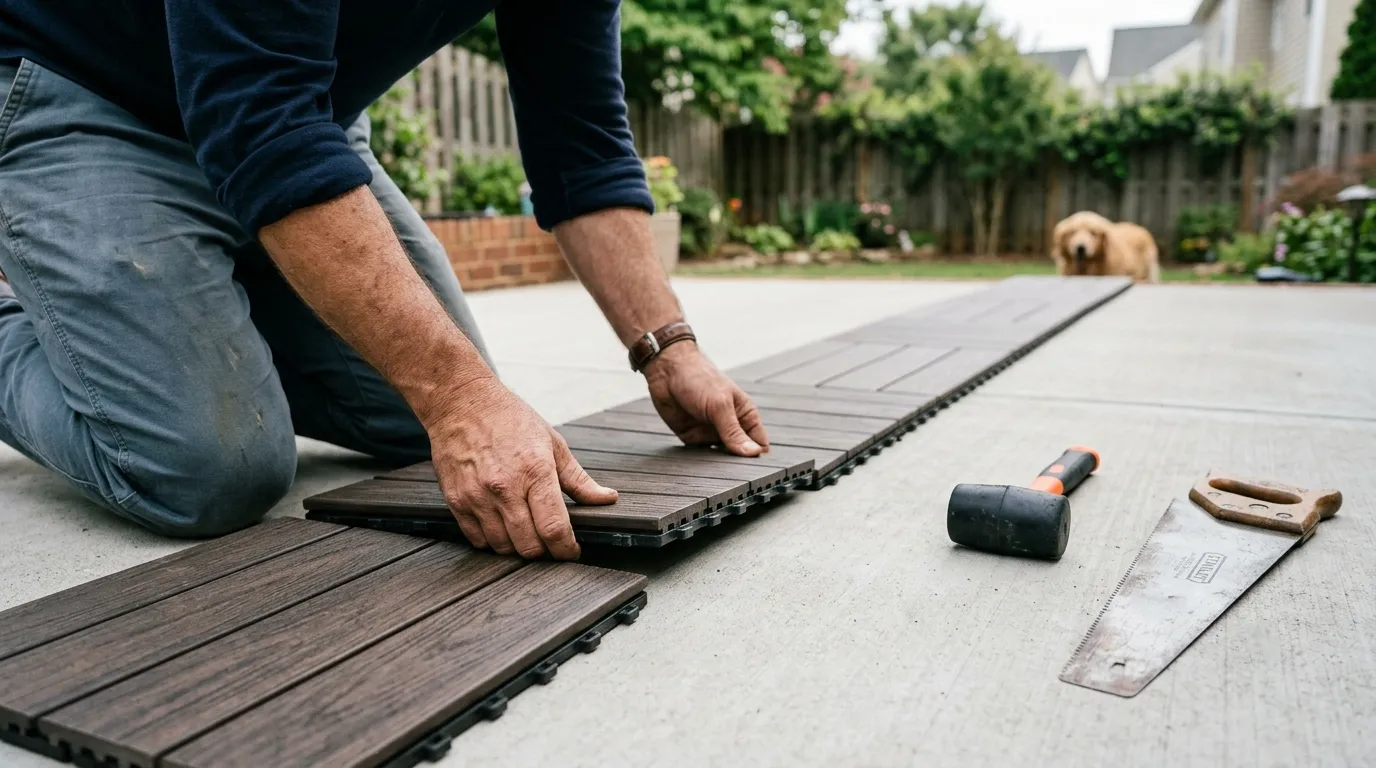
By the Calculate My Reno Team / Published
Skip to the tool
Open the Deck Tile Calculator
Interlocking deck tiles are one of the easiest floors to lay - they clip together by hand and need no glue, screws or grout. The skill is all in reading the surface underneath and finishing the edges, so the floor sits flat, drains, and looks deliberate rather than improvised.
Start with the surface
The tiles have raised feet on the back that lift the surface a little and let water drain beneath, which is why they suit balconies and patios. But they only sit as flat as what they rest on:
- Concrete or a balcony deck - the ideal base. Sweep it clean and dry; lay straight down.
- Slightly uneven concrete - the feet bridge small dips. For bigger hollows, fill with a self-levelling compound or a thin sand screed first.
- Grass, soil or gravel - needs flattening and compacting, ideally over a weed membrane and a thin levelling layer. See can you put deck tiles on grass for that ground prep in full.
The test is simple: no tile should rock, and water should run away rather than pool under the floor.
Plan the layout
Before you clip anything together, work out how many tiles you need and where the cuts fall:
- Measure the area and get a tile and pack count from how many deck tiles do I need or the deck tile calculator.
- Find the most visible straight edge - a doorway or the front of the balcony - and plan to start there with full tiles.
- Dry-lay one row across and one row out to see where the cut tiles land. Shift the start line if you would end on a thin sliver at the far wall.
Lay the tiles
- Clip the first tile into the corner of your start edge, connector tabs facing the direction you are building.
- Work along the row, pressing each tile’s tabs onto the last until they click flat. A rubber mallet helps seat stubborn ones.
- Build out row by row, keeping the leading edges square. Most systems only join in two directions, so keep the tile orientation consistent.
- Cut the edge tiles to fit walls and corners - measure each gap, mark the tile, and cut from the top face. On the join side, trim back to the tabs so the offcut still clips in.
- Notch around posts and pipes with a jigsaw rather than leaving a gap.
Finish the edges
A raw tile leaves a small lip at any exposed edge. Most ranges sell snap-on bevelled edge strips and corner pieces that clip to the outer tabs and ramp the floor down neatly:
- Add trim only on exposed edges - you do not need it where tiles butt a wall, a step or a threshold.
- The deck tile calculator will size the edge and corner pieces if you tick the edge-trim option and enter your strip length.
Worked example
A 4 × 3 m balcony over a sound concrete slab:
- Sweep the slab, check it drains, and confirm no major hollows.
- Calculate the tiles - about 147 in 300 mm tiles, 17 packs of 9.
- Start at the door, dry-lay a row, and shift the line so cuts land at the back wall.
- Clip the full field, then cut the perimeter tiles.
- Snap edge trim along the two open balcony sides and the corners.
A few tips
- Lay on a warm day if you can - composite and plastic tiles are a little more flexible and clip together more easily.
- Keep a few full tiles spare; lifting and re-clipping a damaged one later is a five-minute job.
- Sweep grit off regularly and lift a few tiles each season to clear leaves from underneath, so the drainage keeps working.
- Not sure which tile to buy? Compare composite, wood, plastic and rubber in types of deck tiles compared.
Frequently asked questions
Do deck tiles need a flat surface?
They need a reasonably flat, firm and free-draining surface, but not a perfect one. Their backing feet bridge small dips and let water run underneath, so a slightly uneven concrete patio or balcony is fine. What they cannot do is fix a soft, bumpy or pooling surface - over big hollows or soft ground the tiles flex, rock and trap water, so a badly uneven base needs levelling first.
How do you install deck tiles on an uneven surface?
For minor unevenness, lay the tiles straight down - the feet absorb small variations. For a noticeably uneven concrete slab, fill the low spots with a self-levelling compound or a thin sand screed first. For uneven ground, flatten and compact it, then add a thin levelling layer of sand or fine gravel so the tiles sit flat. The goal is no rocking and water that drains away, not a mirror-flat floor.
How do you cut deck tiles?
Composite and wood tiles cut with a fine-tooth hand saw, jigsaw or circular saw; plastic tiles cut with a jigsaw or even a sturdy utility knife scored and snapped. Cut from the top face for the cleanest edge, and on the connector side trim back to the interlocking tabs so the cut tile still clips into its neighbour. Wear a dust mask cutting composite.
Which way do you start laying deck tiles?
Start from the most visible, straightest edge - usually a doorway, a wall or the front of a balcony - so the full tiles sit where the eye lands and the cut tiles end up at the back or against a wall. Dry-lay a row across first to see where the cuts fall, and shift the start line if you would otherwise end on a thin sliver.