
Coving: Sizes, Types and Fitting
Coving closes the joint where the wall meets the ceiling, and it hides the crack that joint almost always develops. Here is how to choose the size and material, how much to order, and how to cut the corners so they meet.
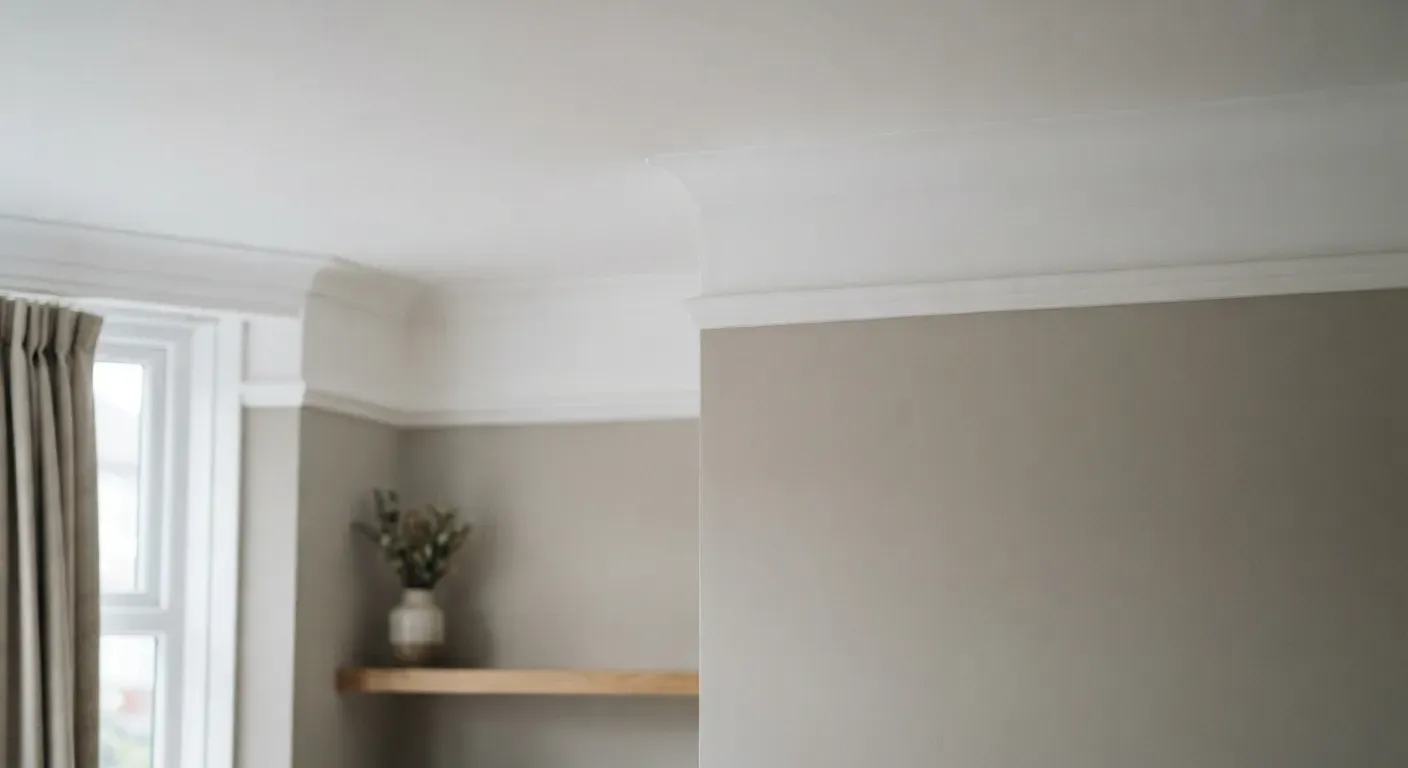
By the Calculate My Reno Team / Published
Skip to the tool
Open the Skirting Board Calculator
Coving is the moulding that closes the angle where the wall meets the ceiling. It is partly decoration and partly repair: that junction is where two different structures meet, so it cracks, and a run of coving covers the crack permanently instead of you filling it every few years.
Coving or cornice?
The words get used loosely, but in Britain they describe two different things and merchants stock them separately.
| Coving | Cornice | |
|---|---|---|
| Profile | A single plain concave curve, the same all the way along | Stepped and moulded, often with enrichment - dentils, egg-and-dart, running patterns |
| Depth | Modest | Usually deeper and heavier |
| Where it suits | Almost any room; the default in modern houses | Period rooms, tall ceilings, and where the plasterwork is part of the look |
| Cost and effort | Cheaper, lighter, quicker to fit | Heavier, dearer, and mitres take longer |
If you want the join covered and nothing more, you want coving. Cornice is what you fit when the moulding itself is meant to be noticed.
What size
Plaster coving is most commonly sold in 100 mm and 127 mm, and the figure quoted is the size across the face - the straight-line distance from the wall edge of the cove to the ceiling edge. It is not how far the coving drops. A standard cove springs at 45 degrees, so that measurement splits roughly evenly between wall and ceiling:
| Size across the face | Approx. drop down the wall | Approx. reach across the ceiling |
|---|---|---|
| 100 mm | about 70 mm | about 70 mm |
| 127 mm | about 90 mm | about 90 mm |
Deeper sections are made for tall rooms. Size it the way you would size skirting: a taller ceiling carries a deeper cove, and a deep cove in a low room makes the walls look shorter than they are. In a standard 2.4 m room, 100 mm or 127 mm is the usual answer.
Hold a short offcut up in the corner before you buy the lot. Coving reads very differently in place than it does lying in the merchant’s rack.
The materials
Plaster (gypsum) coving is the traditional choice and still the common one. It is rigid, it takes a crisp mitre, it is fixed with a gypsum adhesive that is essentially the same material, and the joints disappear once filled and sanded. It is also the heaviest and the most brittle - a 3 m length snaps easily if you carry it flat.
Lightweight polyurethane (duropolymer) coving is dense enough to hold detail but far lighter than plaster, and it does not mind damp, which makes it the sensible pick for a bathroom or kitchen. It is fixed with a tube adhesive rather than a gypsum one.
Polystyrene coving is the cheapest and lightest of the lot, and it goes up quickly. It dents if you look at it hard, so it suits rooms nothing will ever touch. Use only the adhesive and filler the manufacturer specifies - solvent-based products can dissolve polystyrene outright.
MDF and timber coving exists too, generally in the plainer and more angular profiles, and it suits a room where the rest of the trim is already timber.
Working out how much you need
Coving is a linear material, so what you want is the room perimeter:
perimeter = 2 × (length + width)      (or measure round the room directly)
lengths   = ceil( perimeter × waste ÷ length of one piece )
Do not deduct the doorways. This is the one measuring difference between coving and skirting, and it catches people who have just done the skirting: skirting stops either side of every door opening, while coving runs along the top of the wall where no door interrupts it. The full perimeter, with nothing taken off.
Add 10% for waste in a simple room and nearer 15% in a room with several corners - each mitre costs you the end of a length, and the offcut is usually too short to use anywhere else. Plaster coving is typically sold in lengths from about 2 m to 3 m, with longer lengths available from some suppliers, so buy the longest that fits your longest wall: every joint you avoid is one you never have to fill.
The calculator above sizes a second profile - coving or picture rail - off the full perimeter for exactly this reason, room by room, at the same time as the skirting.
Marking out
Coving is easier to fit accurately than it looks, and almost all of that comes from marking out first.
- Work out the two lines. From the table above, measure the drop down the wall and the reach across the ceiling for your size, then mark those distances at both ends of every wall and snap or pencil a line through them.
- Strip back to a sound surface between the lines - wallpaper off, flaking paint off. Adhesive on paper is a coving that comes down.
- Scratch the plaster lightly inside the lines with the corner of a scraper to give the adhesive a key.
- Plan the run. Start on the longest, most visible wall so any joint ends up somewhere you do not look at.
Cutting the corners
The single thing that makes coving mitres go wrong is cutting the length flat on the bench. Cut it in the position it will sit: held against the fence of the mitre box or saw at the same 45 degree spring angle it takes on the wall. Coving mitre boxes and paper mitre templates are sold for precisely this, and some coving comes with a template printed on the wrapper.
- Internal corners and external corners are cut the same way but in opposite directions - get one wrong and it is obvious immediately, which is why it is worth cutting a spare pair of offcuts and offering them up before you touch a full length.
- On a long wall, join two lengths square, butted, rather than trying to scarf them. The joint sits on a flat face and fills invisibly.
- Small gaps at a mitre are normal on plaster coving. They get filled with the same adhesive that fixed it and sanded flush, and nobody will ever find them.
Fixing it
For plaster coving: mix the gypsum coving adhesive to a thick paste, butter it generously along both edges of the cove, and press it into the corner between your two lines. Some adhesive will squeeze out - scrape it off and use it on the next length rather than letting it set on the wall.
Hold the length while it grabs. A couple of clout nails or screws driven partly into the wall underneath act as a shelf and come out once the adhesive has gone off; the small holes fill in the same pass as the joints.
Then fill every mitre and butt joint with the same adhesive, let it set, and sand the whole run flush. Seal the coving before it takes a finish coat - bare plaster drinks paint unevenly, and the coving is the first thing the eye lands on when it goes wrong.
Common mistakes
- Cutting the mitres flat on the bench. Cut the cove at its spring angle, in the position it will sit.
- Deducting doorways from the measurement. That is a skirting rule. Coving covers the full perimeter.
- Sticking it to wallpaper. It will come down, and it will take the paper with it.
- Solvent adhesive on polystyrene. It melts it. Use what the manufacturer specifies.
- Fitting it before the plaster has dried. Coving goes on after plastering, once the wall is properly dry.
- Buying short lengths. More joints to fill, and more chances of a visible line.
Frequently asked questions
What is the difference between coving and cornice?
Coving is the plain one. It is a simple, uniform concave curve that spans the angle between wall and ceiling, and it is the same shape all the way along. Cornice is the broader term for a decorative ceiling moulding - stepped, moulded, sometimes with dentils, egg-and-dart or a run of enrichment - and it is usually deeper and heavier. In everyday British use people say coving for the plain C-shaped run and cornice for anything ornate, and merchants stock them under those two headings.
What size coving should I use?
Plaster coving is most commonly sold in 100 mm and 127 mm, and the figure quoted is the size across the face - the straight-line distance from the wall edge of the cove to the ceiling edge, not how far it drops. Because a standard cove springs at 45 degrees, that measurement divides roughly equally between wall and ceiling: a 100 mm cove drops about 70 mm down the wall and reaches about 70 mm across the ceiling, and a 127 mm cove about 90 mm each way. Larger sizes exist for tall rooms. Match it to the ceiling height the same way you would skirting - a standard 2.4 m room usually suits 100 mm or 127 mm, and a deep cove in a low room eats the wall.
How do I work out how much coving I need?
Measure the full perimeter of the room and do not subtract anything. This is the one place coving differs from skirting: coving runs along the top of the wall where no doorway interrupts it, so the whole perimeter is covered, including above the doors. Add about 10% for waste in a simple room and nearer 15% where there are several corners, because every mitre costs you the end of a length. Then divide by the length you are buying and round up.
Can you fit coving over wallpaper?
No. Coving adhesive needs to grip the plaster, not the paper, and paper will eventually let go and bring the coving down with it. Strip the wallpaper along the band where the cove will sit, and take back any loose or flaking paint too. Marking the lines on the wall and ceiling first tells you exactly how wide that band needs to be.
How do you cut coving corners?
Cut it in the position it will sit, not flat on the bench. Hold the cove in the mitre box or against the saw fence at the same angle it takes on the wall - most coving is sold with a mitre box or a paper template for exactly this - and the internal and external cuts then come out at the right compound angle. Cut a spare pair first and offer them up before you commit to the real lengths. Small gaps at a mitre are normal on plaster coving and get filled with the same adhesive you fixed it with.
What adhesive fixes coving?
Plaster coving is fixed with a gypsum-based coving adhesive - a powder mixed with water to a thick paste - buttered onto both edges of the cove and pressed home. Lightweight polyurethane and polystyrene coving usually take a proprietary tube adhesive instead. One warning on polystyrene: solvent-based adhesives and fillers can melt it, so use only what the manufacturer specifies.
Does coving go up before or after painting?
Fit the coving first and paint afterwards. It is stuck to bare plaster, the joints and mitres get filled and sanded once it is up, and the whole run wants sealing before it takes a finish coat - all of which would ruin fresh paint. Fit it after plastering, let the wall dry out, then decorate the room as one.