
How to Epoxy a Garage Floor
Epoxying a garage floor yourself is a weekend job that lives or dies on the preparation. This guide walks the steps in order - prep, repair, coat, topcoat - with the timing and the mistakes to avoid.
By the Calculate My Reno Team / Published
Skip to the tool
Open the Epoxy Garage Floor Cost Calculator
Epoxying a garage floor is not difficult, but it is unforgiving of shortcuts. Get the slab clean, profiled and dry, work to the epoxy’s pot life, and the coating part is straightforward.
Before you start
Work out how much you need with the epoxy garage floor calculator and buy a spare kit - running short mid-coat is the one mistake you cannot easily fix. Pick a mild, dry stretch of weather, because epoxy cures to temperature and hates damp.
The steps in order
- Clear and clean. Empty the garage, sweep, then degrease. Oil and tyre marks must come off or the epoxy will not stick over them.
- Profile the slab. Acid-etch or diamond-grind so the coating keys into the concrete instead of sitting on a sealed surface. See the prep guide for which to use and how.
- Check for moisture. Tape a plastic sheet to the floor overnight; condensation underneath means the slab is wicking water and is not ready to coat.
- Repair. Fill cracks and spalls, and fill or detail the control joints to your product’s instructions. Let repairs cure.
- Prime (if your system has one). A primer or moisture seal improves the bond and the coverage of the colour coat.
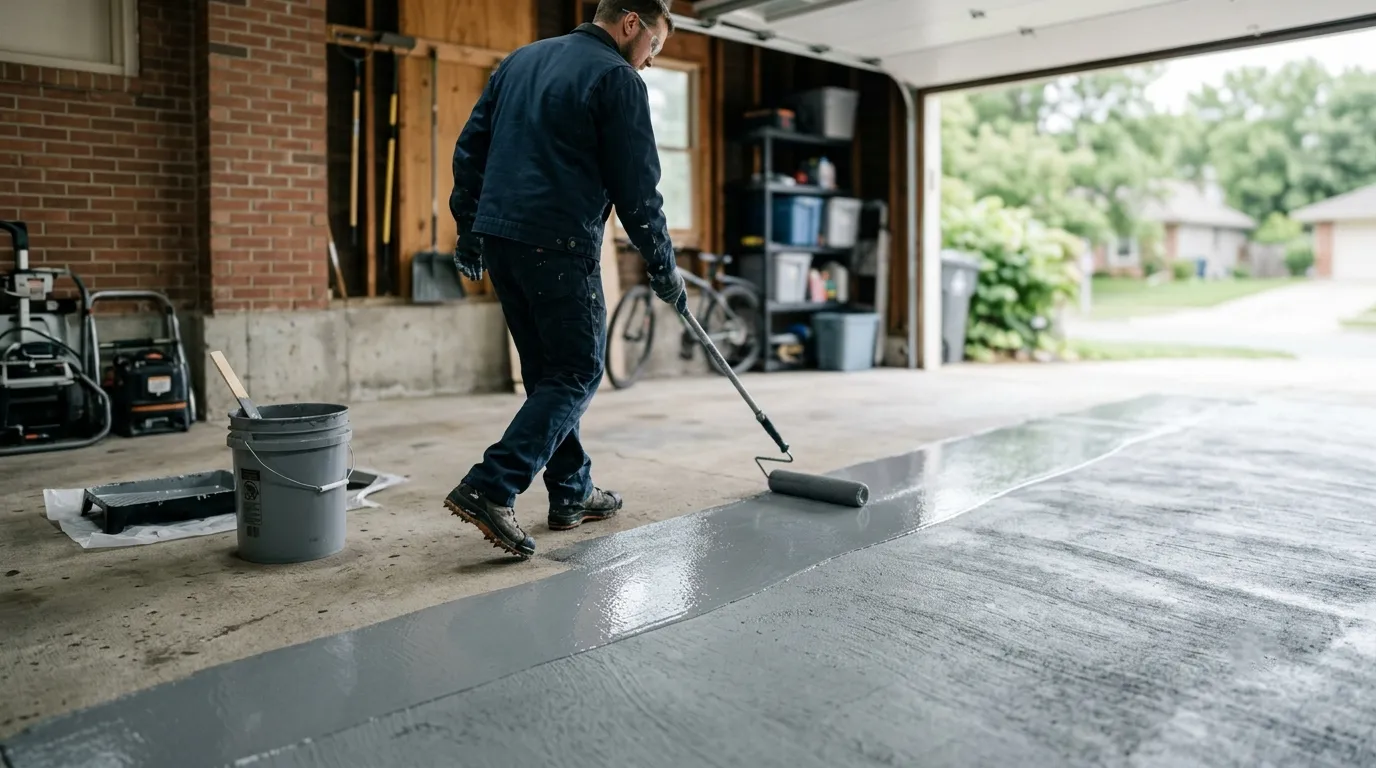
- Base coat. Mix only what you can lay in the pot life. Cut in the edges with a brush, then roll the field in sections, keeping a wet edge so there are no lap lines.
- Broadcast flake (optional). For a flake floor, scatter the chips into the wet base coat to your chosen density while it is still tacky.
- Topcoat. Once the base has set, scrape or sand back loose flake, then roll one or two clear topcoats for the wear and the sheen.
- Cure. Keep off it for a day, then give it several days to a week before parking on it.
The mistakes that cause peeling
- Skipping the profile. Rolling epoxy onto smooth, sealed concrete is the number one cause of failure.
- Coating a damp slab. Moisture pushes the coating off from underneath - always do the plastic-sheet test.
- Mixing too much at once. Epoxy starts curing in the bucket; a batch you cannot spread in time goes off and is wasted.
- Rushing the cure. Driving on it too soon, especially with hot tyres, lifts the coating.
Worked example
A 20 ft × 20 ft two-car garage, two coats with a light flake:
- Day one - clear, degrease, grind or etch, moisture test, fill cracks.
- Day two - prime if needed, lay the base coat and broadcast the flake.
- Day three - scrape back, roll the clear topcoat.
- Wait a day to walk, a week to park.
A few tips
- Have a helper. One cuts in and feeds, one rolls - it keeps a wet edge across a big floor.
- Wear spiked shoes for broadcasting flake so you can walk on the wet base coat.
- Buy the spare kit the quantity guide suggests; lap lines from running out are permanent.
- Decide first whether DIY is the right call - the worth it guide compares it with a professional install.
Done patiently, a DIY epoxy floor looks great and lasts. Done in a hurry over a dusty, damp slab, it peels - so spend your effort on the prep.
Frequently asked questions
Can I epoxy a garage floor myself?
Yes - a single- or two-car garage is a realistic DIY job over a weekend, and kits come with everything you need. The hard part is not the rolling, it is the preparation: cleaning, etching or grinding, and making sure the slab is dry. Most DIY epoxy that fails, fails because the prep was rushed, not because the coating was hard to apply.
How long does it take to epoxy a garage floor?
The work is spread over two to three days. Prep and repairs take a day, the base coat goes down on day two, and topcoats follow once each coat has set. You can usually walk on it after a day, but wait several days to a week before parking a car or putting hot tyres on it. Cold weather slows the cure right down.
Do I need to etch or grind the concrete first?
You need to do one or the other. Acid-etching opens the surface of smooth, bare concrete enough for a DIY kit to key in, and it is the usual route for a home job. Diamond grinding gives a better, more reliable profile and is what professionals use, especially on sealed or troublesome slabs. Coating over a smooth, sealed floor is the surest way to get peeling.
What is the best temperature to apply epoxy?
Most epoxies want the slab and the air somewhere around 50 to 85°F (10 to 30°C), and the floor at least a few degrees above the dew point so it does not sweat. Too cold and it will not cure properly; too hot and the pot life drops so fast you cannot spread a batch in time. Check your product's sheet and pick a mild, dry spell.